Visual Quick Start Guide (5 Minutes)
This guide shows you exactly what you'll see at each step when setting up Glancito.
STEP 1: Install from Shopify App Store
- Open your Shopify Admin
- Go to Apps and sales channels in the left sidebar
- Search for Glancito
- Click Glancito Loyalty then Add app
- Approve the permissions popup — you'll be redirected to your Glancito dashboard automatically
STEP 2: Your Glancito Dashboard
After installing, you land on the Overview page:
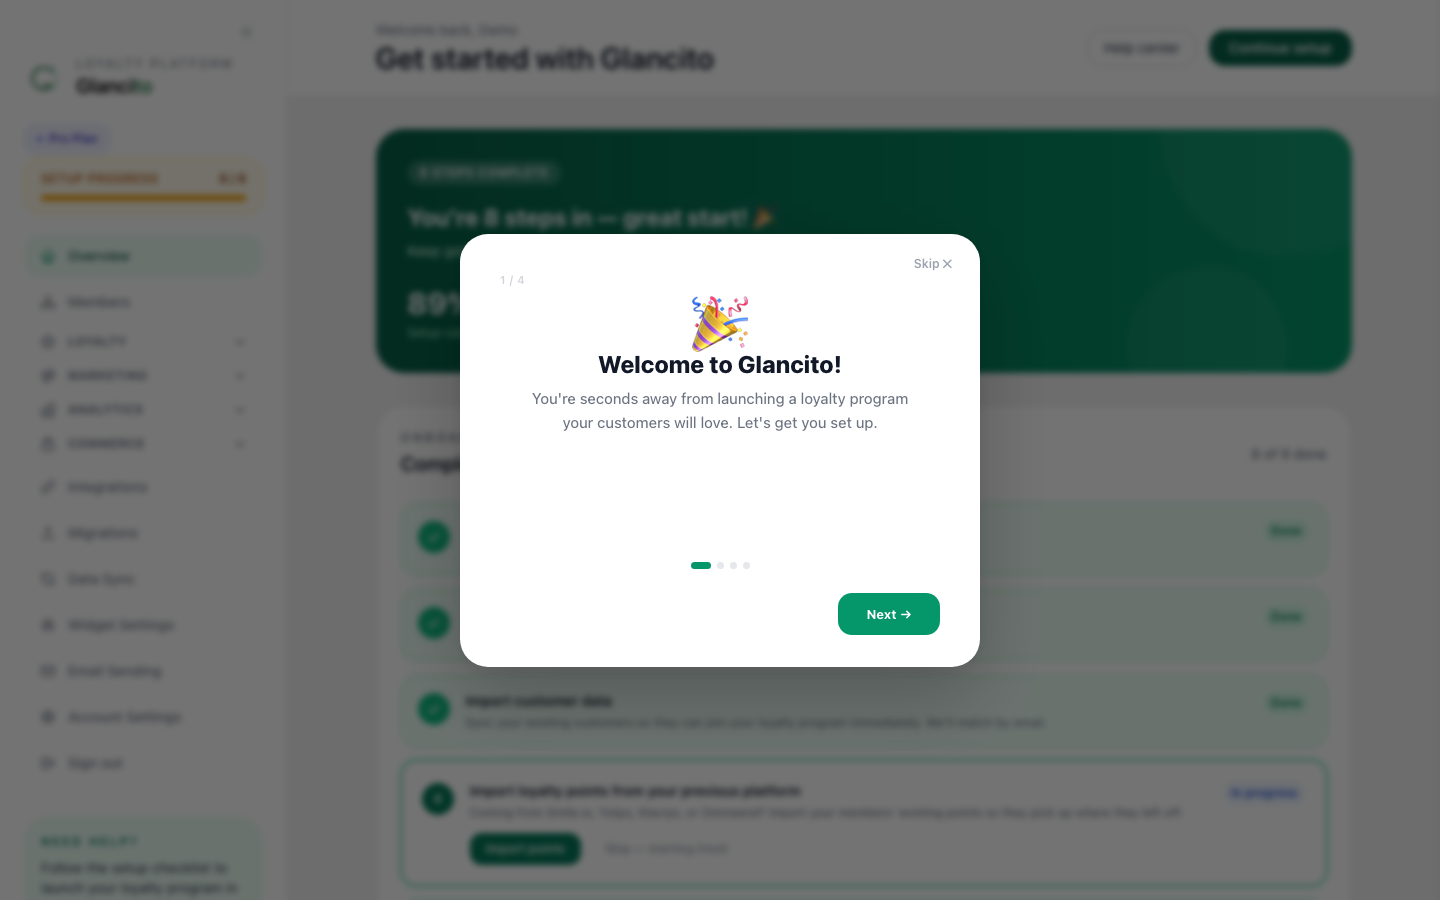
The sidebar on the left is your main navigation. The center shows your setup checklist and progress toward going live.
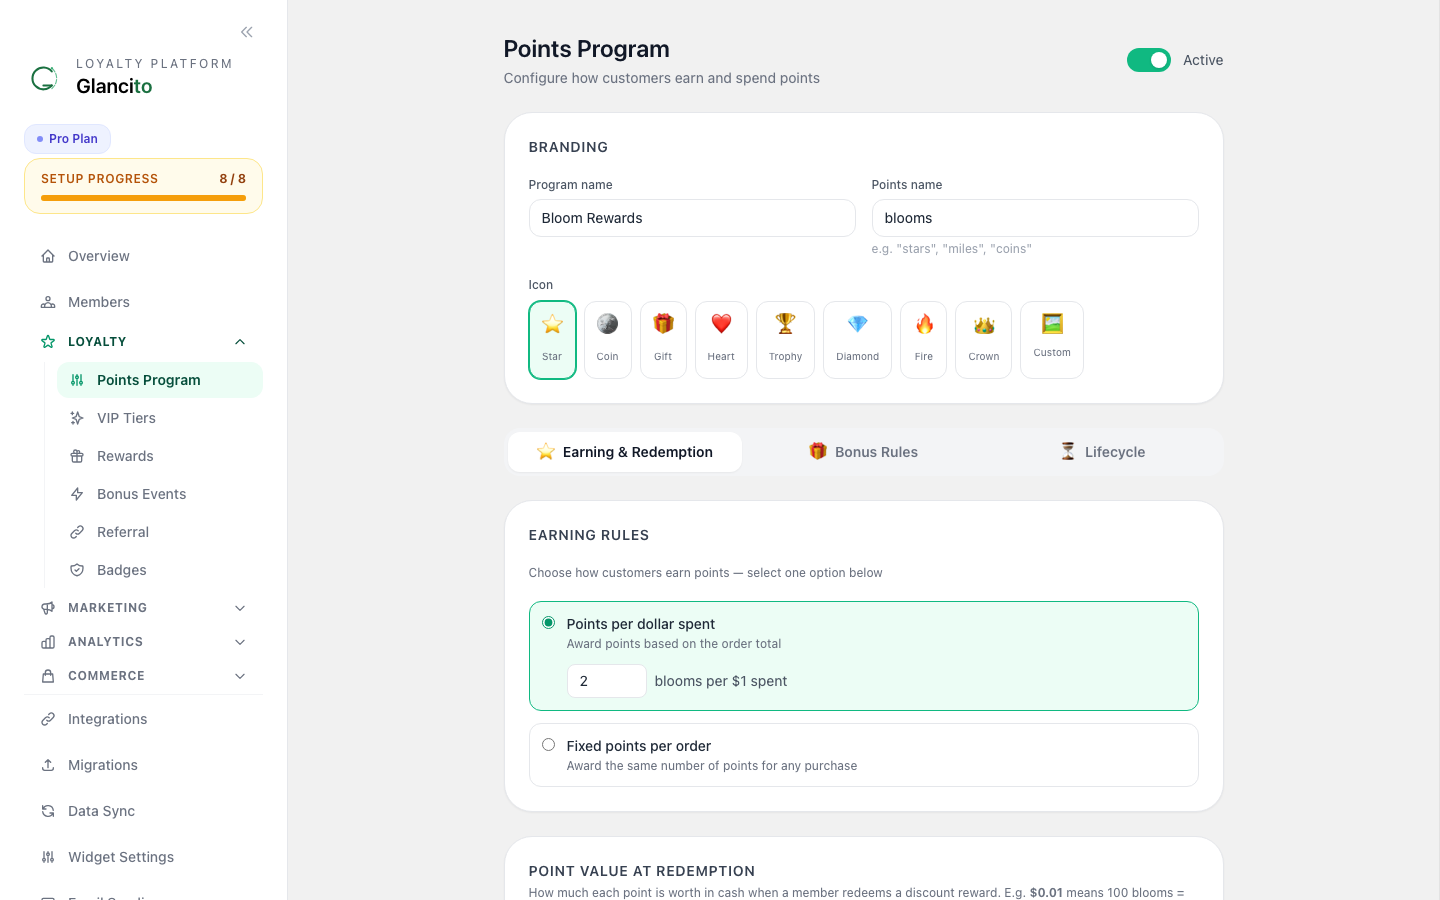
STEP 3: Create Your First Earn Rule
Click Loyalty → Earn Rules in the sidebar:
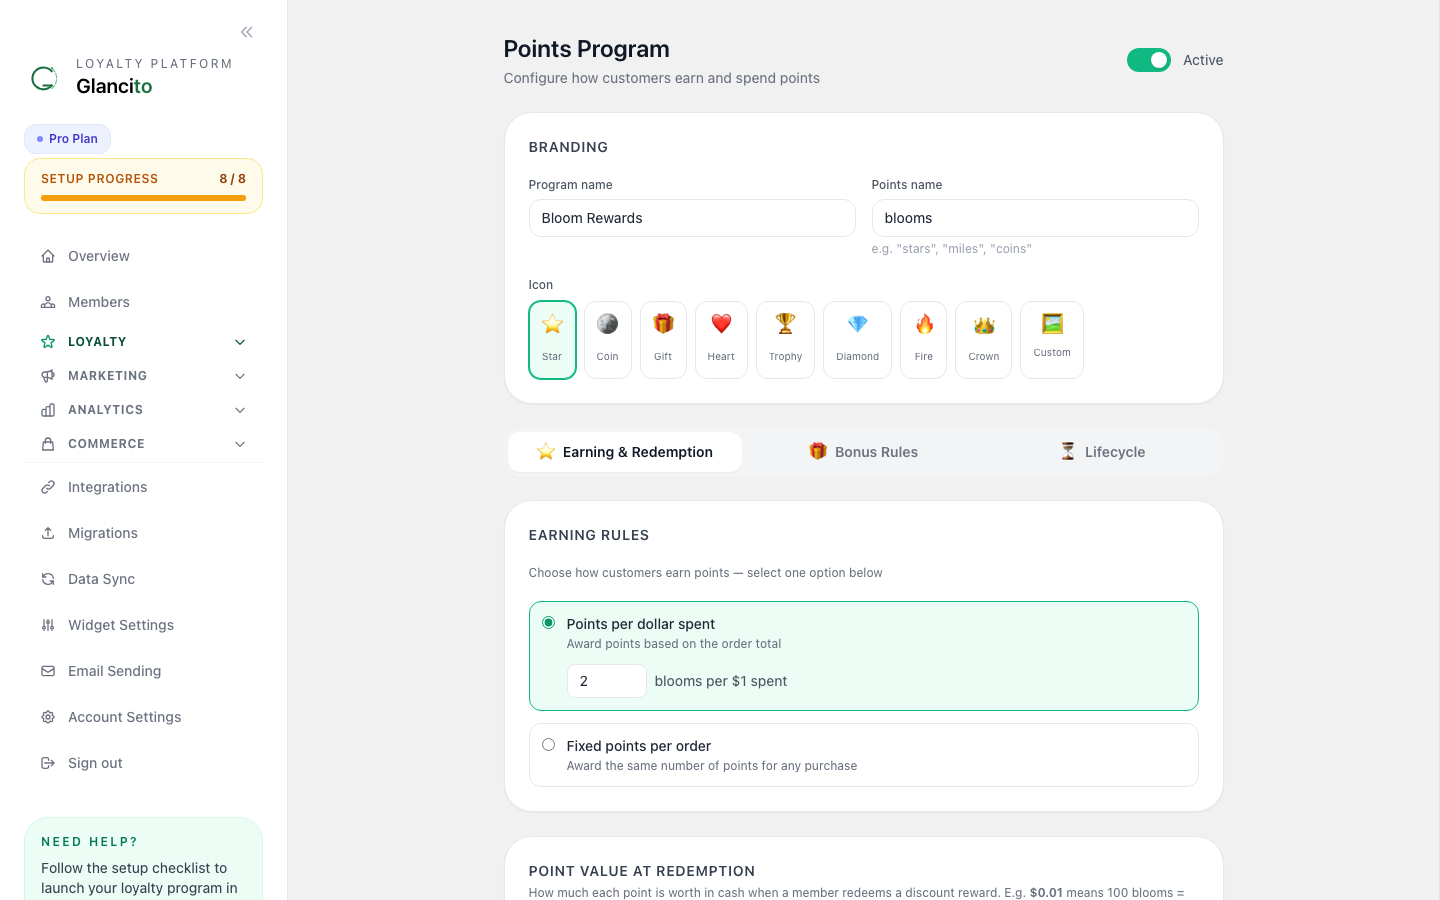
Click Add Earn Rule, choose Purchase, set Points per Dollar to 1, and save. Customers now earn 1 point for every $1 spent.
STEP 4: Create Your First Reward
Click Loyalty → Rewards in the sidebar:
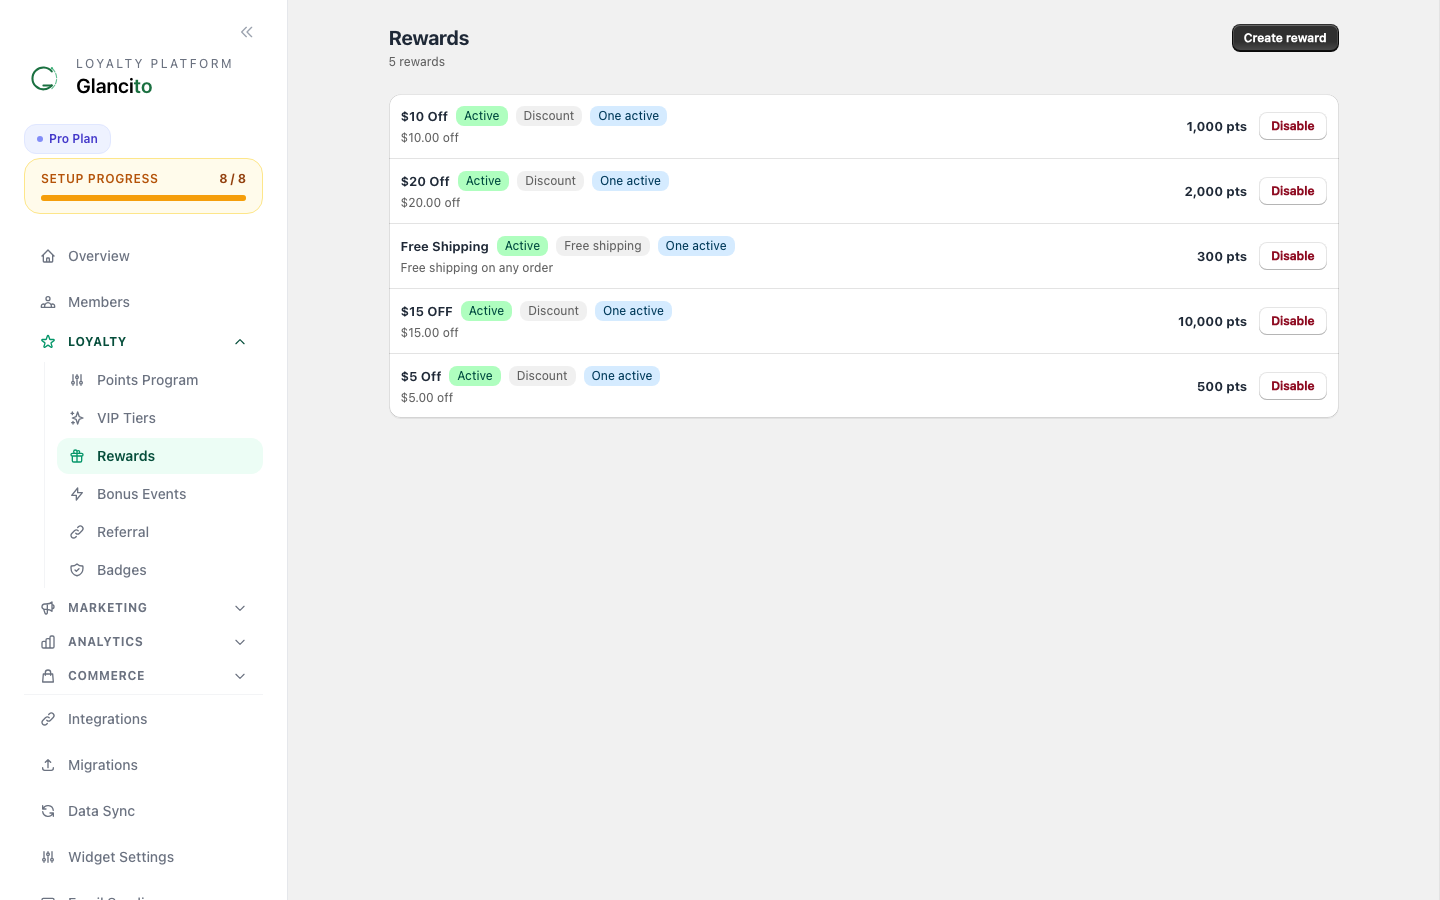
Click Add Reward, name it $10 Off Your Next Order, set Points Required to 1000, and save. Customers can now redeem 1,000 points for a $10 discount.
STEP 5: Customise Appearance
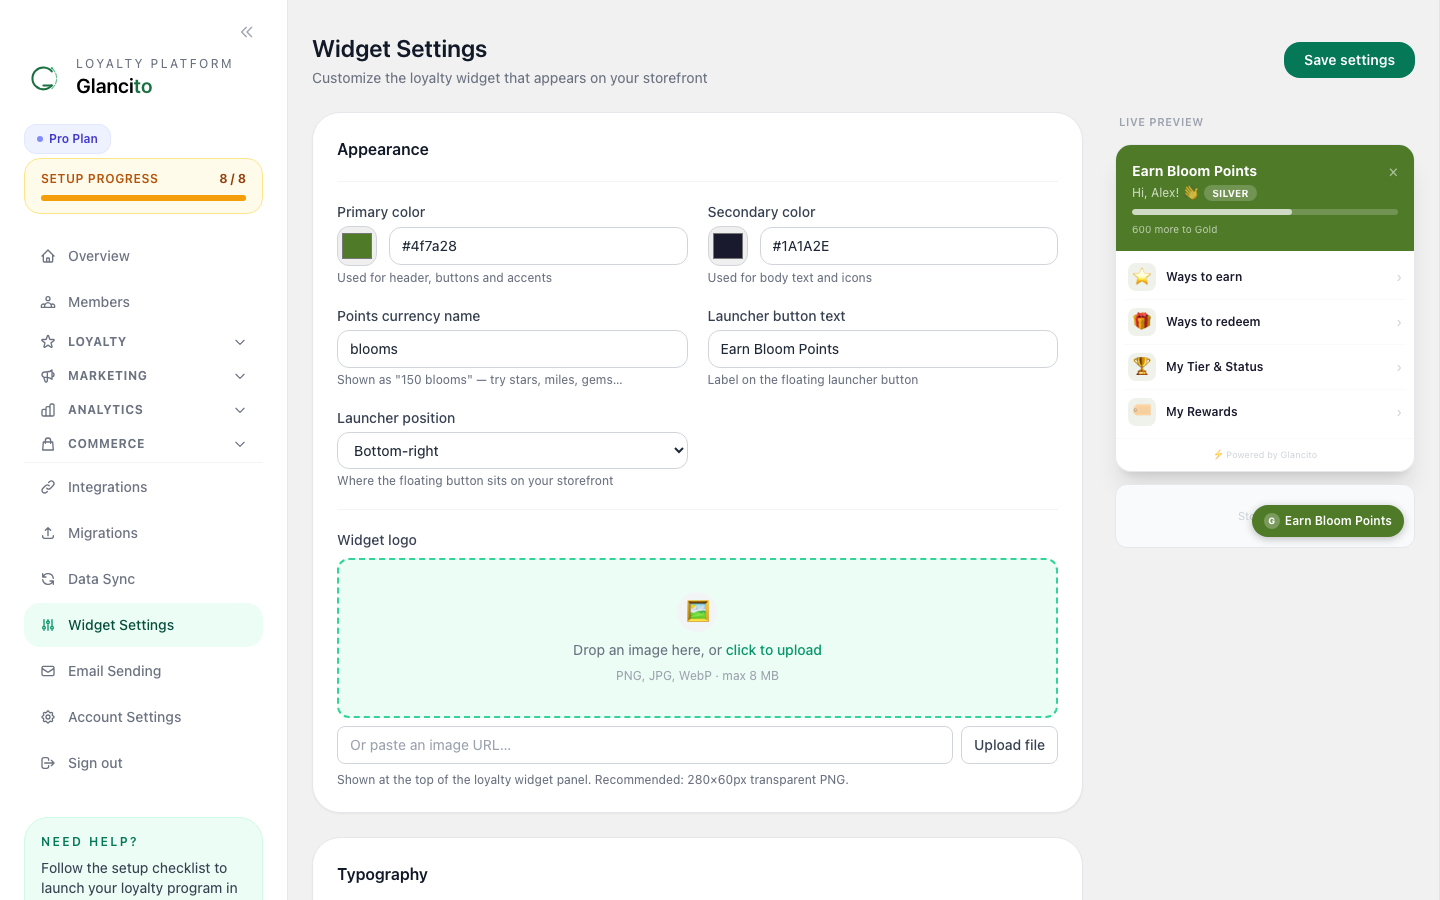
Click Widget Settings to configure the loyalty widget colours and position, and Email Branding to upload your logo for outbound emails:
STEP 6: Your Program Is Live!
Once you've saved at least one earn rule and one reward, the loyalty widget appears automatically on your Shopify storefront. Customers see their points balance on product pages, in the cart, and in their account.
Next Steps
- Create email campaigns — send targeted emails to your members
- Build segments — group members for targeted campaigns
- Set up journeys — automate welcome emails, win-backs, and more
- Monitor analytics — track points earned, redemption rates, and ROI