Shopify Integration
Glancito integrates seamlessly with your Shopify store to track purchases, manage customers, and display the loyalty widget across your storefront.
How Integration Works
Step 1: OAuth Connection
When you install Glancito from the Shopify App Store, you authorize it to:
- Read your products and customers
- Read and write orders
- Access your online store
This is secure — all data is encrypted in transit.
Step 2: Webhook Registration
Glancito registers webhooks to track:
- When a customer completes a purchase
- When an order is refunded or cancelled
- When a new customer is created
- When products are updated
Step 3: Widget Installation
The loyalty widget automatically installs on:
- Product pages (show points earning)
- Cart page (show accumulated points)
- Checkout (show points for this order)
- Customer account (member dashboard)
No theme editing required — it's a Theme App Extension.
Step 4: Real-Time Sync
Data syncs automatically:
- Orders sync within 5 minutes of completion
- Customer updates sync within 2 minutes
- Points are awarded instantly when order is marked "paid"
Display Locations
Product Pages
Glancito injects a points badge on Shopify product pages showing how many points the member will earn (e.g. "Earn 29 points on this purchase"). Position (above/below price), color, and size are customizable in Settings → Widget.
Shopping Cart Page
The cart page shows the total points the member will earn for the current cart, updating in real time as items are added or removed.
Checkout Page
At checkout, logged-in members see their points preview and current balance. After payment completes, points are awarded automatically.
Customer Account
The Shopify customer account page gains a Loyalty Points section showing the member's current balance, lifetime points, available rewards, and their referral link.
Store Connection Status
Checking Connection
Go to Integrations to verify your Shopify connection status:
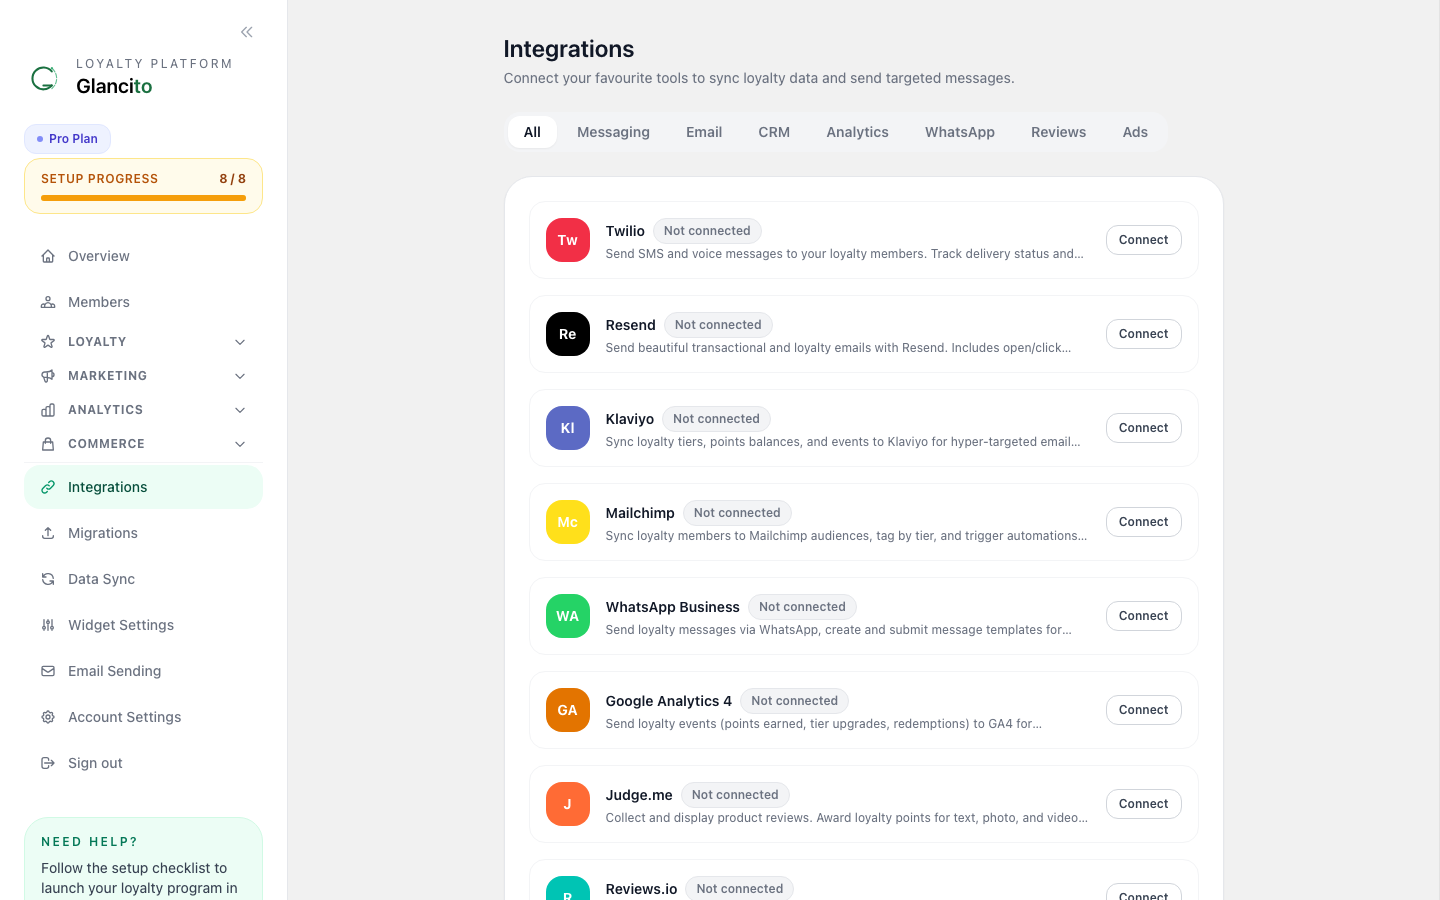
The page shows your connected store name, OAuth status, last sync time, and all registered webhooks.
If Connection is Down
If status shows ❌ Disconnected:
Quick Fix:
- Click [Reconnect]
- You'll be redirected to Shopify authorization
- Click Authorize (same as initial setup)
- Return to Glancito — should reconnect in 30 seconds
Still not working?
- Go to Shopify Admin → Settings → Apps and sales channels
- Find Glancito Loyalty
- Click to open the app details
- Check if it shows "App is installed"
- If not installed, reinstall from the app store
Program Settings
Configure What You Earn
Go to Settings → Program to set:
- Program name and point name (shown to customers)
- Brand color and logo
- Which storefront locations to show the widget (product pages, cart, checkout, account)
- Auto-enroll vs. manual join
Display Settings
Go to Settings → Widget to configure the widget appearance: theme (light/dark), position on product pages, font size, icon style, and whether to show the member's tier badge.
Data Sync Details
What Data Syncs from Shopify?
Automatically synced:
- ✅ Customer email & name
- ✅ Phone number
- ✅ Shipping address
- ✅ Order details (items, total, date)
- ✅ Order status (paid, pending, refunded)
- ✅ Product titles and prices
- ✅ Refund information
Not synced (by design):
- ❌ Customer notes
- ❌ Draft orders
- ❌ Internal tags/metafields (unless custom)
Sync Frequency
| Data | Sync Speed | Interval |
|---|---|---|
| New Orders | 5 minutes | Continuous |
| Refunds | 5 minutes | Continuous |
| Customer Updates | 2 minutes | Continuous |
| Product Updates | 30 minutes | Periodic |
| Full Resync | 24 hours | Daily (2 AM PT) |
Troubleshooting Sync Issues
Orders not syncing?
- Check order status in Shopify (must be "paid")
- Wait 5 minutes and refresh
- Check Settings → Store Connection → Last Sync time
- If older than 1 hour, click [Test Connection]
Customer missing?
- Search by email in Glancito
- If not found, check if they have an order (customers auto-create on purchase)
- If no order history, you may need to manually enroll them
- Go to Members → [Add Member]
Points showing wrong amount?
- Check Analytics → Earn Rules for what's earning
- Verify the purchase matches the rule (e.g., product not excluded)
- Check customer's transaction history in their profile
- If still wrong, manually adjust via Members → [Customer] → Adjust Points
Widget Customization
The widget respects your Shopify theme but can be customized:
Color Customization
The widget uses your Primary Color setting. To match your brand:
- Go to Settings → Program Settings
- Click the color picker
- Choose your brand color
- Widget auto-updates across the store
Text Customization
Default text is smart, but you can customize:
Default: "Earn {'{'{points}'}'} points"
Custom Options: "You'll get {'{'{points}'}'} {'{'{point_name}'}'}"

Where {'{'{points}'}'} = number calculated
Where {'{'{point_name}'}'} = what you call points (points/coins/rewards)
Go to Settings → Program Settings → Text Customization
Mobile Experience
The widget is fully responsive — touch-friendly buttons, fast loading (under 1 second), and optimized for all screen sizes.
Best Practices
Widget Visibility
- Don't hide the widget on any storefront page
- If customers don't see loyalty, they won't participate
- Aim for visibility > aesthetics
Product Page Widget
- Place above the fold (visible without scrolling) if possible
- Avoid clashing with your CTAs
- Test on mobile devices
Checkout Widget
- Make sure points for purchase is clear
- Include "Final Balance: X points" after redemption
- Mobile experience matters most here
Account Page
- Feature your loyalty dashboard prominently
- Link from welcome emails
- Make sure the widget loads fast
Security & Compliance
✅ OAuth 2.0 - Industry standard authentication ✅ HTTPS/TLS - All data encrypted in transit ✅ API Rate Limits - Prevents abuse ✅ GDPR Compliant - Right to deletion, data export ✅ CCPA Compliant - California privacy law ✅ PCI DSS Level 1 - No credit card data stored
Common Questions
Q: Can I customize the widget HTML/CSS? A: Not directly (it's a Theme App Extension). But you can customize colors, text, position, and visibility through settings.
Q: Does the widget work on custom storefronts? A: Yes, if using Shopify's Liquid templating. Headless storefronts need custom integration.
Q: What if I change my Shopify plan? A: No impact. Glancito works on all Shopify plans (Basic, Standard, Premium, Plus, etc.).
Q: Can I use Glancito on multiple Shopify stores? A: Yes! Install on each store separately. Each gets its own isolated program.
Q: What happens if I uninstall Glancito? A: The widget disappears from your store immediately. Member data is archived but not deleted (you can reinstall later).
Next Steps
- Set Up Earn Rules to configure how points are earned
- Create Rewards for customers to redeem
- Run Your First Campaign to promote the program